Edition 15: Track Changes in Word
Page 1 of 11
Using Comments and Track Changes in
Word
Reviewing Word documents with Comments and Track Changes.
This article covers the following:
About commenting on or reviewing a document
Setting up Track Changes
Prevent other users from turning off Track Changes
Adding Comments to a document
Accepting and Rejecting the Changes and Comments (you must do this before you distribute
the final version of your document)
Tracking Options
Next Month:
Compare two documents
Combine multiple documents
Using the Reviewing Features Safely
About Commenting on or Reviewing a Document
One way of getting a colleague’s feedback on a document would be to give them a printed copy
to read through. They might then write their comments and suggested changes on it with a
coloured pen.
Of course, in Word this can be done electronically!
Word has two useful features to enable this: Track Changes and Comments.
What is Track Changes?
Change tracking, or revision marking, is used when a reviewer wants to make changes in the
document itself and keep track of the changes. With change tracking, a record is kept of every
change made, which can later be accepted or rejected.
When the Track Changes feature is enabled, every change made to the document
shows up as coloured mark-ups.
If text is deleted, it will remain in the document, but with a visible strike through it.
If text is inserted, it will be underlined.
This means that you can see which changes have been made and then accept or reject them
before making the changes permanent.

Edition 15: Track Changes in Word
Page 2 of 11
The really useful thing is that if several different people make their own changes in
the same document, each author’s changes are displayed in a different colour, so
you can easily tell who made which changes.
What are Comments?
In addition to changing text, people can make a comment about part of the document.
Comments show in "balloons" in the right margin of the document. They can be
read by the original author or by any other reviewers and can be accepted or
rejected along with the other changes.
Just like with the tracked changes, comments made by different authors are displayed in a
different colour, so you can easily tell who made which comments.
Back to top

Edition 15: Track Changes in Word
Page 3 of 11
Setting up Track Changes
If you want to track the changes people make on a document, you simply need to enable the
Track Changes feature from the Review ribbon tab.
Once you have enabled Track Changes, you can then e-mail the document to the
relevant people, or store the document in a shared folder and e-mail a link to it.
To start tracking changes:
Click the
Review
tab and choose from the Tracking
group, or press
[CTRL]+[SHIFT]+[E].
When changes are being tracked, the
Track Changes
button on the
Review
tab is
highlighted.
Any changes made will be shown as mark-up.
Moving an item shows as a deletion and insertion.
If more than one person makes changes to the document, each person’s
changes appear in a different colour.
To Stop Tracking Changes:
Simply click on the
Review
tab.
Back to top
Prevent other users from turning off Track Changes
Edition 15: Track Changes in Word
Page 4 of 11
Use the Protect Document feature.
This will allow you to ensure track changes cannot be turned off without a
password.
Choose from the
Review
tab.
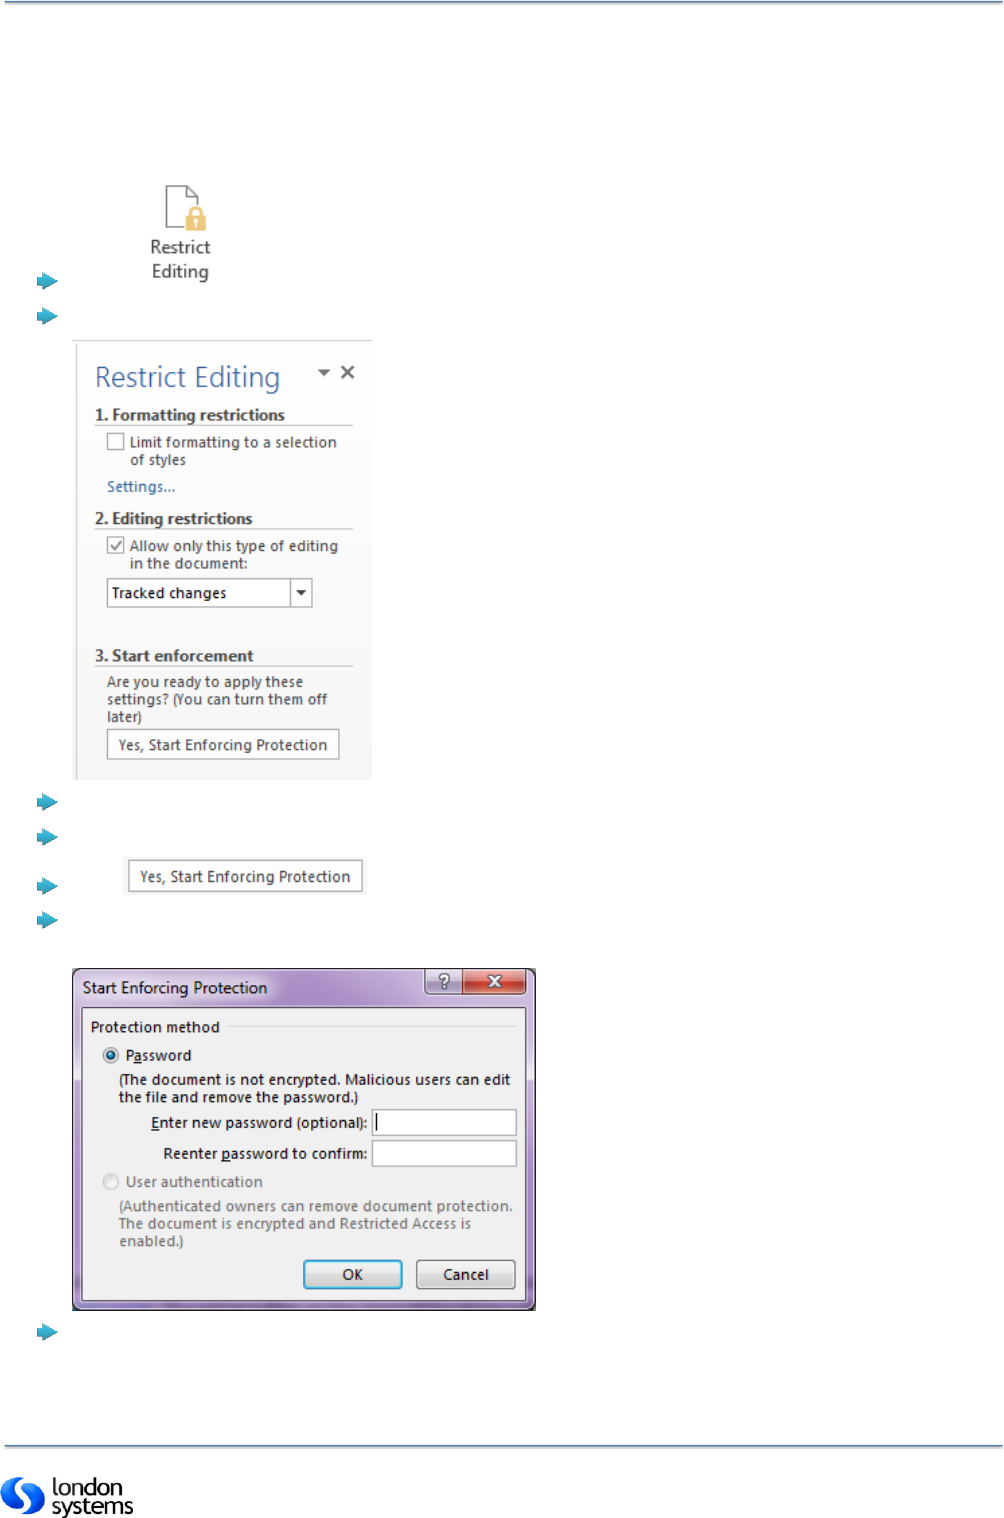
The Restrict Formatting and Editing pane will be displayed.
Select Allow only this type of editing in the document.
Then choose Tracked Changes from the drop down list.
Click
Enter and confirm a password if you want to use one (Note: this password is not
recoverable if you forget it!).
The Track Changes button becomes unavailable and changes are permanently tracked
(until protection is stopped and track changes disabled).

Edition 15: Track Changes in Word
Page 5 of 11
User Authentication is available only if your system is set up for Information Rights
Management
Once applied, protection ensures that other users do not disable the track changes
without a password. This means that all changes made will be highlighted.
To stop enforcing protection:
Choose from the
Review
tab to display the Restrict Formatting and Editing pane
(if it is not already displayed).
Click the Stop Protection button at the bottom of the pane.
Enter the password if prompted.
You will then be able to disable Track Changes.
Back to top
Adding Comments to a document
Edition 15: Track Changes in Word
Page 6 of 11
A comment is a note or annotation that an author or reviewer adds to a document. Word
displays the comment in a balloon in the margin of the document or in the Reviewing Pane.
Track changes does not need to be on for comments to be added.
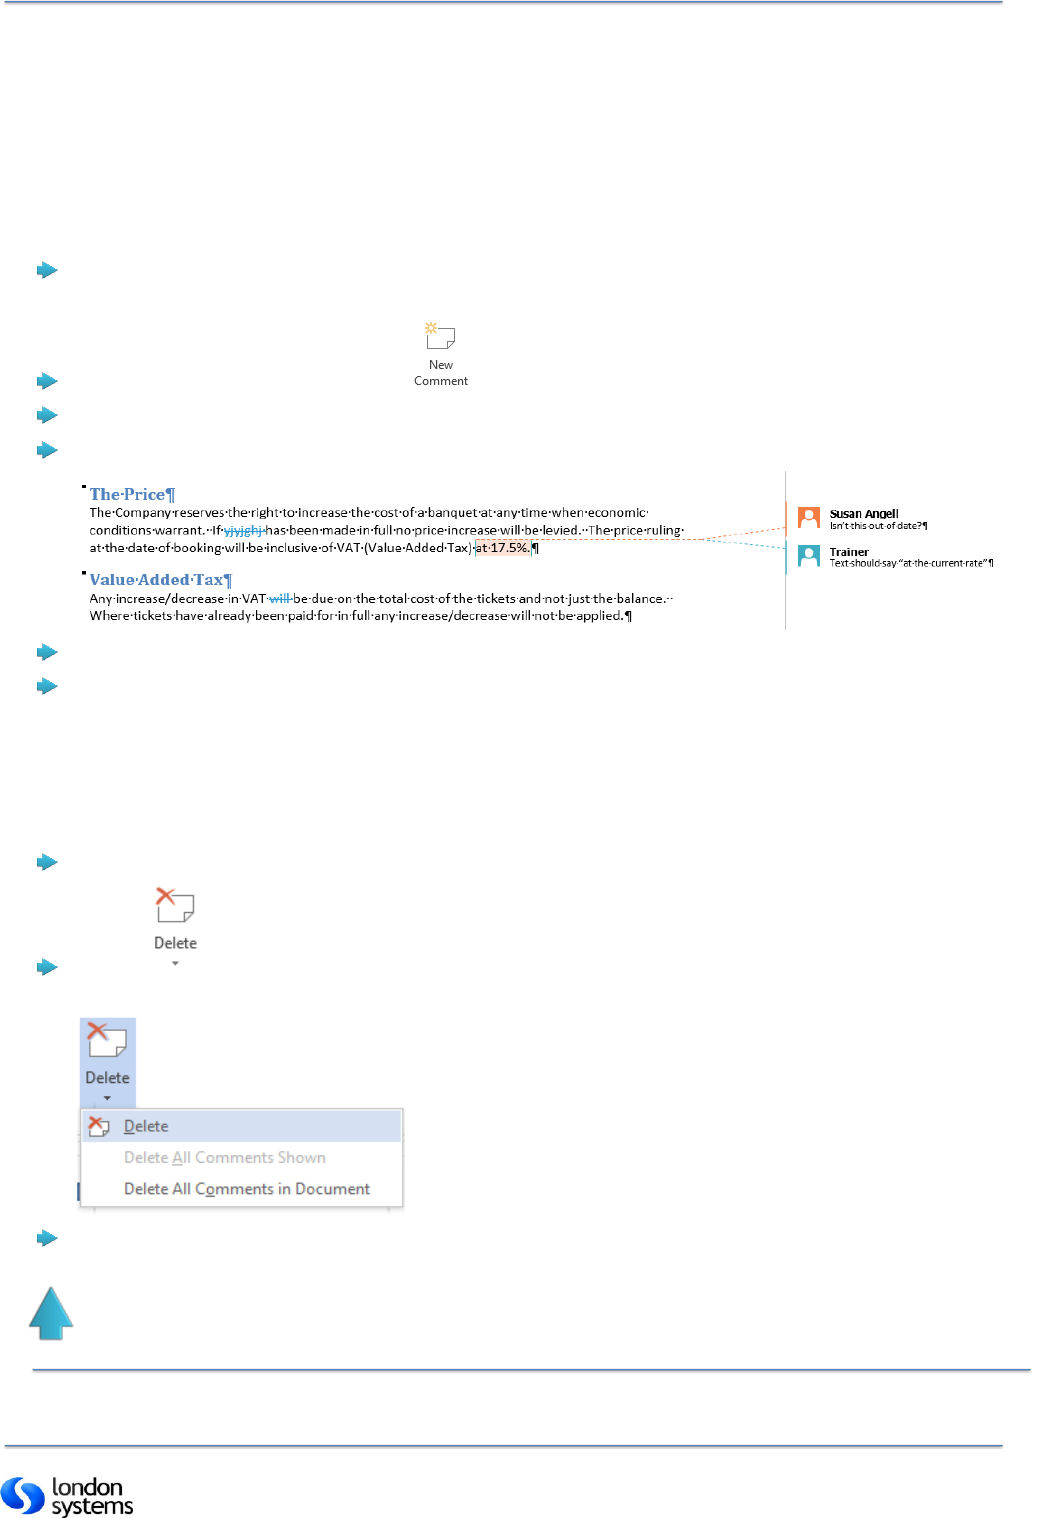
Inserting Comments
Position the insertion point where you want the comment, or select the text to be
commented on.
Click the
Review
tab and choose
.
Type the comment text in the comment balloon.
To return to the document click in the document text.
As with Track Changes, each person who comments, appears in a different colour.
Rest the insertion point over the balloon to display the name of the reviewer.
If the comment balloons are hidden, type the comment in the Reviewing Pane.
To Delete a comment
Select the comment
Choose from the
Review
tab.
Use the dropdown arrow for further options.
Back to top
Edition 15: Track Changes in Word
Page 7 of 11
Accepting and Rejecting the Changes and Comments
Highlighting everyone’s suggested changes with the mark-up is only one part of the
reviewing process.
You use the
Review
tab to control how the mark-up is displayed and also to accept or reject
each change.
IMPORTANT: Before the final version of the document can be distributed or published, all
highlighted changes must be Accepted so they become part of the document properly, or
Rejected so they are permanently removed from the document.
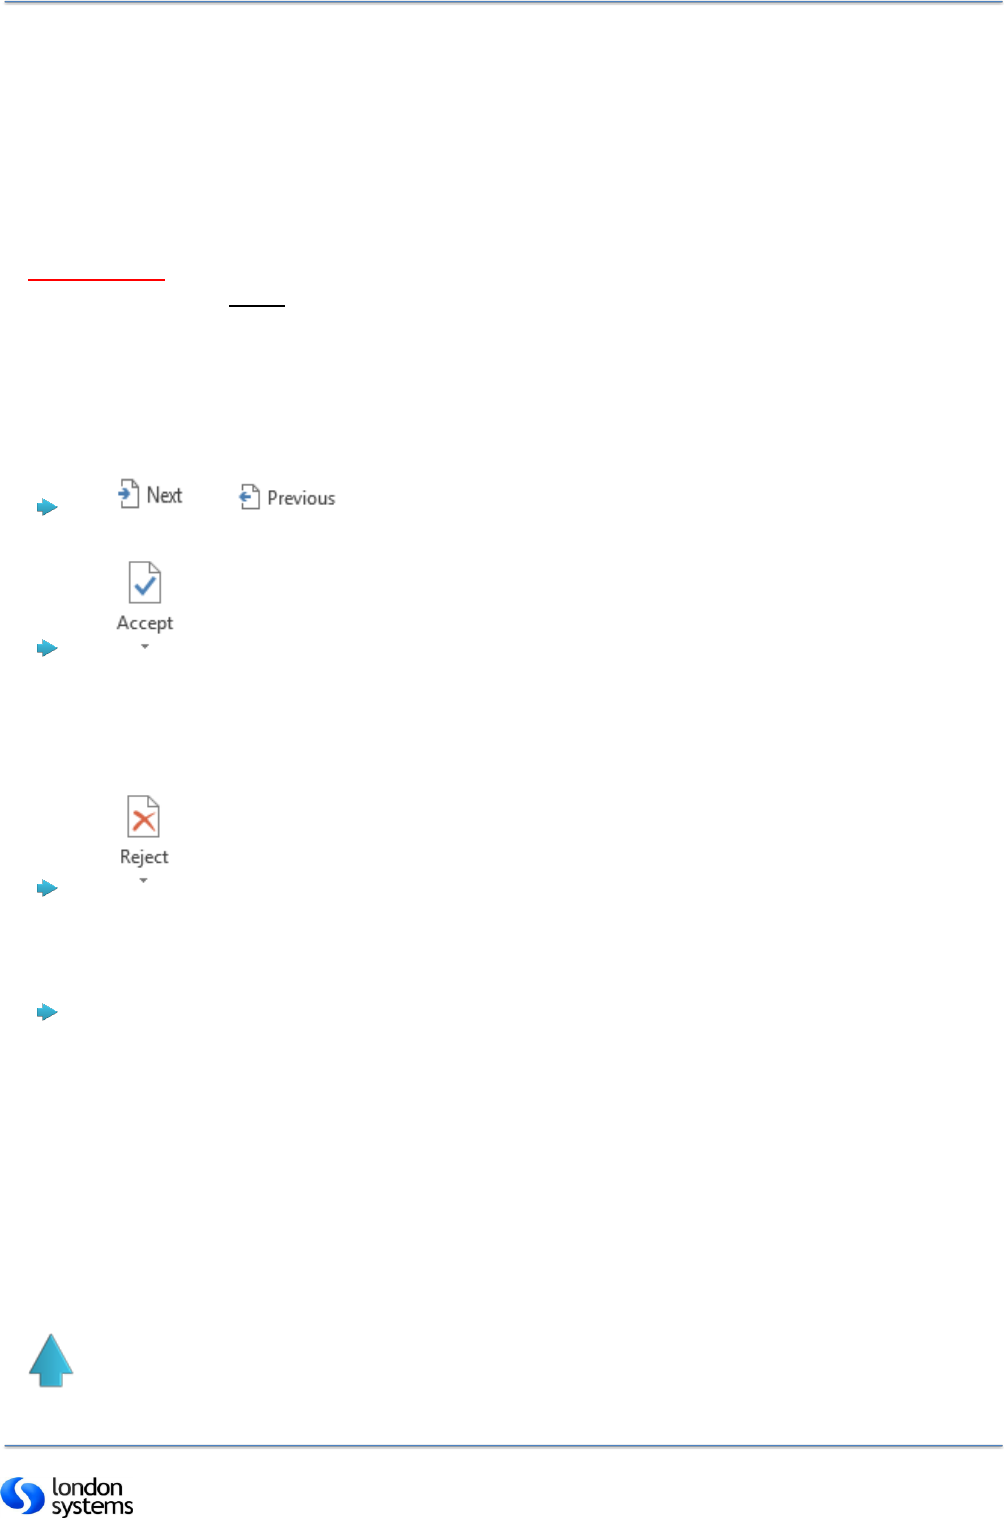
To review each item in sequence:
On the
Review
tab:
Use and to highlight the next or previous change
(this will include any comments).
Use to make the currently selected change permanent in the document and remove
its mark-up.
The next change in the document will automatically be highlighted ready for you to
accept or reject.
Use to permanently remove the currently selected change from the document.
The next change in the document will automatically be highlighted ready for you to
accept or reject.
Use the drop down arrows for further options such as Accepting all changes in the
document.
When you have worked your way through the entire document and all
changes have been accepted or rejected, make sure track changes is turned
off and your document is ready.
NOTE: Accepting a comment will leave it in the document. Rejecting a comment
will delete it.
Back to top
Edition 15: Track Changes in Word
Page 8 of 11
Tracking Options
Here we will look at the options in the Tracking group on the
Review
tab.
Change the mark-up colours and options:
Change the colour and formatting Word uses to mark changed text and graphics in
the Advanced Track Changes Options.
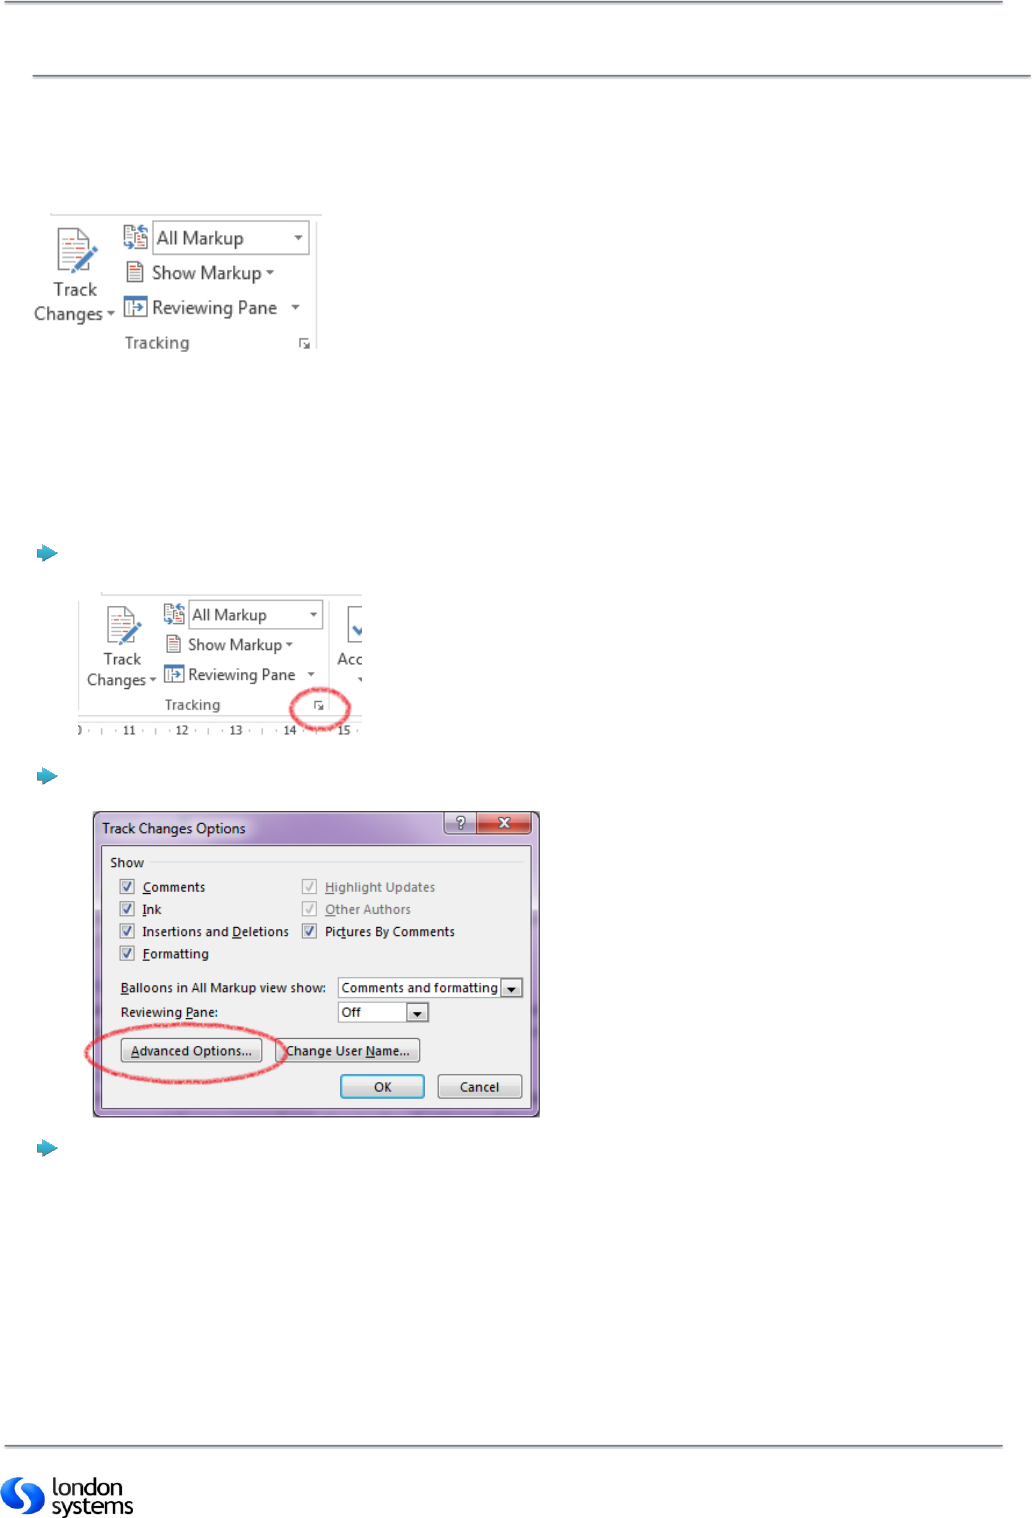
Choose the launcher from the tracking group on the Review tab.
The Track Changes Options dialogue box will appear.
Choose Advanced Options to access the Advanced options dialogue box.

Edition 15: Track Changes in Word
Page 9 of 11
Select options as required and choose OK.
Hide the Mark-up:
You might want to do this if there are lots of changes in a document and you want
temporarily hide them to quickly read through without being distracted.
IMPORTANT: Do remember to show the mark-up again when you’re done, so it doesn’t get
sent out with hidden (but easily viewable) mark-up!
Choose the display for review dropdown arrow.
Then choose the required view option.
IMPORTANT: these options will not accept or reject changes, just hide them – do not
distribute the document until the changes have been accepted or rejected, because they are
still there and can easily be viewed, making your company look unprofessional, or causing
controversy.

Edition 15: Track Changes in Word
Page 10 of 11
Specify which Mark-up to see:
Choose the dropdown arrow:
Select or de-select which elements of mark-up you want to see.
Show revisions in a separate window:
You can view the changes and comments in a separate window or pane if you prefer.
Choose
Then choose or as required.
The Reviewing pane is displayed.

Edition 15: Track Changes in Word
Page 11 of 11
Printing Mark-up
To print mark-up only:
Click
File | Print
.
Under Settings, click the arrow next to Print All Pages.
Click List of Mark-up (you might need to scroll the list)
To print a document and its mark-up:
Click the
File | Print
.
Under Settings, click the arrow next to Print All Pages.
Check Print Mark-up.
Back to top
